
By Kyle Kushman and the Homegrown Cannabis Co.
I’m often asked about the best way to harvest indoor cannabis, especially by beginners. What I tell them, and what I am about to explain here, is this. The harvesting itself is nowhere near as important as the two weeks leading to the day you take down the plants. The work you do pre-harvest is VITAL. From flushing the excess nutrients, to tweaking the light cycle to getting the exact day (and time of day) just right.
I can easily show you how to cut and hang a plant, don’t worry – I will, but do not ignore the final two weeks. They can make the difference between dry, insipid, lifeless buds and fat, juicy, super-potent colas. Colas you can be proud of.
The key to a good harvest? Preparation.
There are four major elements of preparation you should NEVER neglect.
- Your drying room.
- The date you flipped into flower.
- Flushing.
- Environment.
The drying room.
It might sound crazy, but the next step after buying your cannabis seeds should be to organize your drying room. Or at least have your location evaluated and secured. You’ll have plenty of other things to occupy your mind pretty soon, believe me. I never start an indoor cannabis grow without knowing how and where the plants will be dried. I repeat, get this taken care of as early as you can, it’s far too easy to see the harvest date as something to ‘worry about later on’. How many times have you said these words: That’s next week? Seriously??? That came out of nowhere! Major events, birthdays, anniversaries (just ask my wife) and indoor harvests all fall under this category.
What makes a good drying room? In brief, you’ll want the drying room close to the grow, easily accessible, and with as much control over the environment as possible. I pretty much always use my tent. As I’ll explain later, everything you need to control the environment will already be in place – and it’s fully lightproof, perfect for drying plants.
First off, space. Is there room to hang ALL your plants? Your drying room needs to be at least as big as the space you grew in, with plenty of room to walk around and inspect each plant. It also needs to be completely dark, at least for the first three days. Your plant will continue to respond to the environment as if it were standing in soil, growing happily. This means it will continue to produce chlorophyll and other harsh-tasting chemicals when exposed to light. Make like Metallica, fade to black. Pitch black.
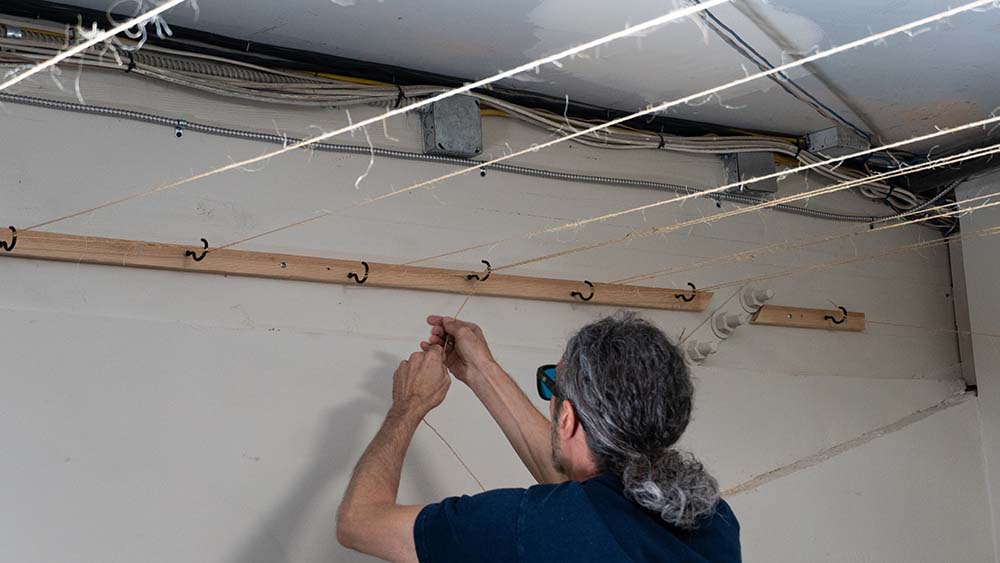
Your drying room should be able to house your dehumidifier, fans and drying lines, air-con (if needed), which is why I like drying in my tent. Make sure the lines are taut and secure, with enough space for multiple rows (depending on the number of plants). Turning your grow tent into a drying tent is easy, but if you have a better spot, go for it.
Environment.
You should aim to keep the temp below 70F (65 – 68 is optimum). Judging the correct levels of humidity can be tricky, and you’ll have to be responsive. For the first day or two in the drying room, your plants won’t do too much off gassing. Your dehumidifier should be set to 60% from the outset, being lowered to 55, then 50% over the next few days. You want to stop excess humidity from building up in the room, as this will prevent the plants from drying naturally.
Dry environments may need to humidify rather than dehumidify to the same levels.
If you can’t stick to these numbers, you might need to improve your equipment or relocate to another space. Talking of equipment, you really shouldn’t need anything more than a dehumidifier and a fan (or two). You might also need air-con, depending on your climate.
If you need to dehumidify, do it as passively as possible. You want to draw moisture from the air, not from the plants – there is a difference. Same for your fans. Use them to create a nice, gentle, passive airflow, not to blow-dry the hanging plants.
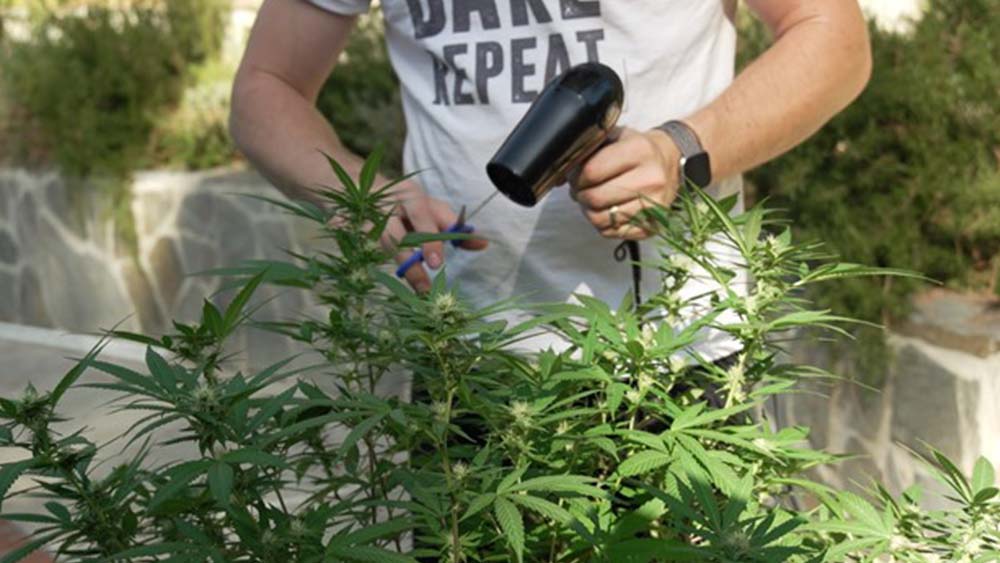
Don’t blow-dry your plants!
Flipping into flower.
Knowing how to harvest is knowing exactly WHEN to harvest. Now, if you buy seeds from a reputable online store, they’ll give you the flowering time of the cultivar. It could be anything from 6 to 14 weeks. Not many modern hybrids have a longer flowering period than 14 weeks, it’s only really your old-school Hazes and big, pure sativas that can take longer.
The flowering time will tell you (roughly) when to harvest your plants, but only if you’ve noted the date you changed your light cycle to 12/12, flipping your plants into flower.
Mark the date you flipped onto your calendar, or into your Homegrown Diary (I will talk more about your Diary later). Then add the minimum number of flowering weeks to your calendar (if the plant has an 8-10 week flowering time, add 8 weeks). Let me give you an example. You’re growing a bunch of Kyle’s Skywalker OG Feminized from the Homegrown Cannabis Co. The Cultivar Profile gives you a flowering time of 8-10 weeks. You flip them on 11th June, when do you expect them to be harvest-ready? Add 8 weeks, that takes you to 23rd July.
Now, this is not an exact, sure-fire, chop-em-down harvest date. It’s up to you to determine whether your plants are ready. They might need the full ten weeks, they might need longer. The bigger the buds, the longer they take to mature. I’ll show you exactly when to harvest, but you NEED to note the date you flipped. This date will help keep you prepared and organized. It will at least tell you not to book two weeks in Cancun when you should be chopping down your plants!
Autoflowering plants flip themselves into flower (automatically), and their listed flowering times are actually their total life cycle, from seed to harvest. Say you pop a bunch of Homegrown’s Electric Blue Autos, they also show a flowering time of 8-10 weeks. Being autos, you’ll know that these are the weeks from pop to crop. If you plant your germinated seeds on 11th June, you’ll probably be harvesting them late July / early August.
Non-autos: mark the date you flipped.
Autos: mark the date you planted.
Flushing.
The final few weeks before harvest is the time to get rid of all the nutrients in the soil (beginners should always start off with soil grows). This process is called flushing, as it flushes any chemicals, fertilizers, excess starch and sugars from the plant, using pure-water feeds. Why do we flush? Because these extra ‘ingredients’ can ruin the flavor, aroma and smokability of the finished bud.
If you start flushing two weeks from harvest, your plant will use all its own stores of nutes, leaving a clean, tasty, pure jar of weed, in theory. If you’re going to flush, do it right. I’ll bullet it out for you here…
- Week six of flowering: Cut out nitrogen from the feeds.
- Three weeks to harvest: Stop feeding micronutes, including cal-mag. Cut your phosphorus by half.
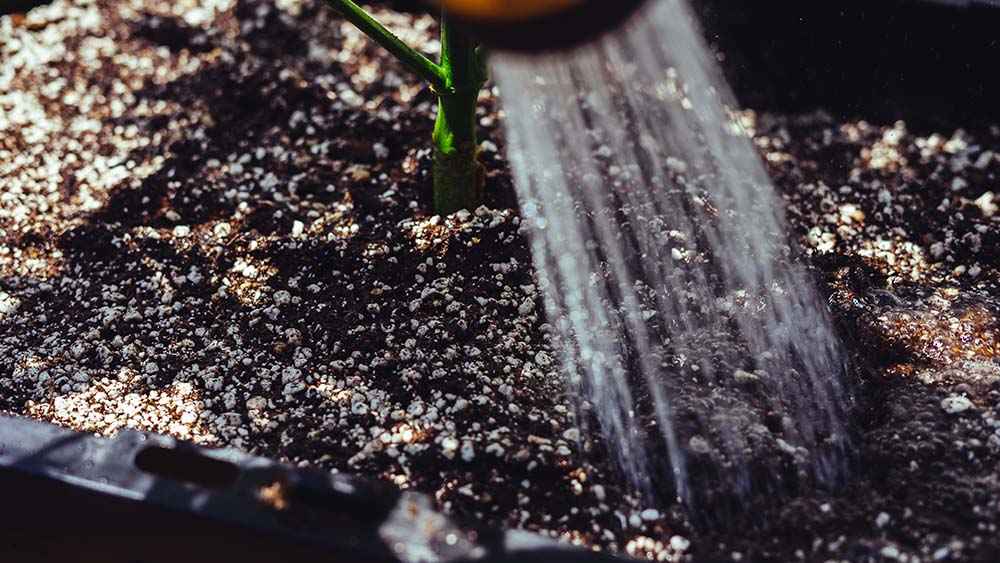
- Two weeks to harvest: Flood the soil with plain water and allow it to drain, dissolving the excess nutes, salts and starches as it goes. Follow this about ten minutes later with a second flush of plain water. All feeds from now on should be water and enzymes only.
- Two days after initial flush: Look out for signs of nitrogen deficiency, green leaves fading to yellow and a reddening of the leaf stems. These are good signs! If you want to get serious, snap off a leaf and taste the juice that runs from the stem. Still bitter? There’s still nutes in the system. These should clear closer to harvest. Think of it like a roast chicken, when the juices run clear, the bird is cooked and ready to be enjoyed.
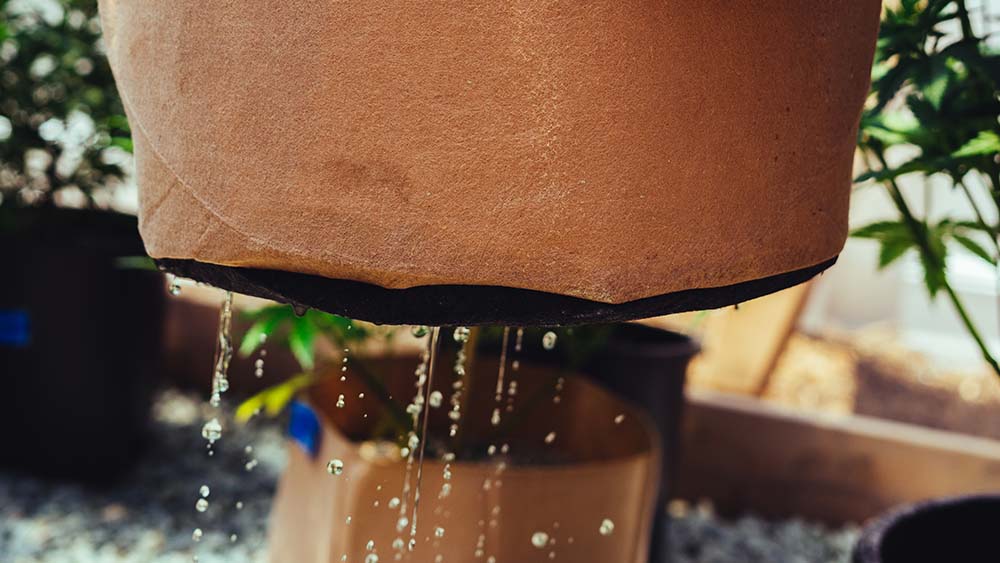
Draining run off water
- One week to harvest: Feed only water from this point on.
- Three days before harvest: Lights, out! This isn’t strictly to do with flushing, but I’ve mentioned it here because you can include it in the process. The darkness spikes resin production and the cooler air helps kick-start the drying process, pushing the moisture down into the root zone.
- Two days before harvest: Give your plants a final watering. The final 24 hours pre-harvest should be nice and dry. Ideally, you want the last drops of moisture evaporating from the pots just as you cut down the plants – good luck timing that to perfection. Best to get it as close as possible – you don’t want to harvest a wilted plant! When the plants start to dehydrate during the last few hours in the soil, the resin production jumps. This isn’t because the soil is dry – it’s because the air is dry. Your plants equate dry air to hot sun, and they pump out resin to prevent sunburn. The more you discover about your weed, by the way, the more you’ll love growing it!
Okay, so when do you know it’s time to harvest?
Your plants should be cut down at the apex of resin production. Too early and you’ll lose out on potency, flavor and smokability. Too late, and the THC levels will drop as the resin glands begin to degrade. This can be manipulated in your favor, as I’ll explain later…
The first thing to be aware of is the aforementioned flowering time. As you reach the end of the set flowering period, you’ll notice the once-white pistils turn orange, red or even brown, depending on the cultivar. The pistils, like the flowering time, are a general guide only, helping you to predict a rough harvest date.
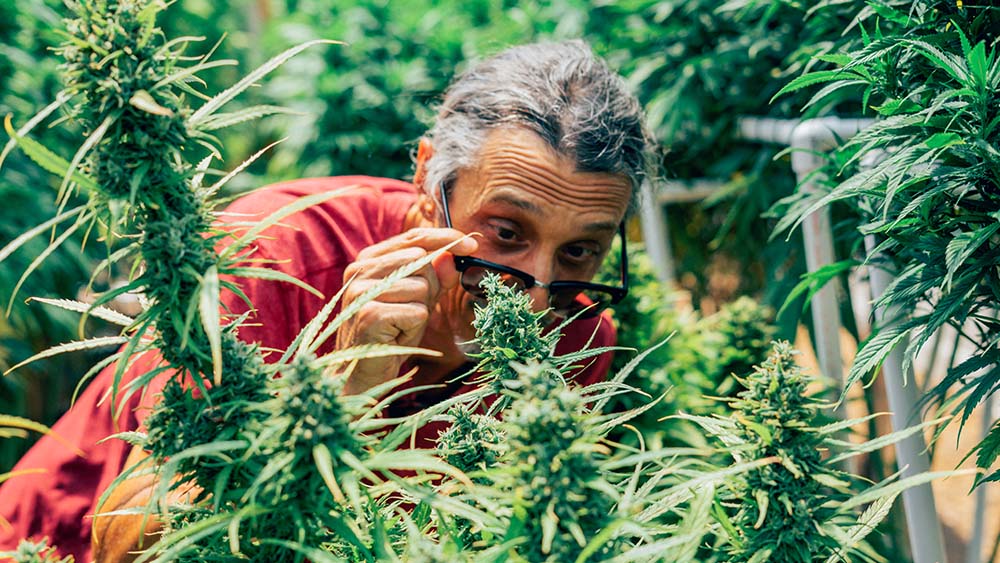
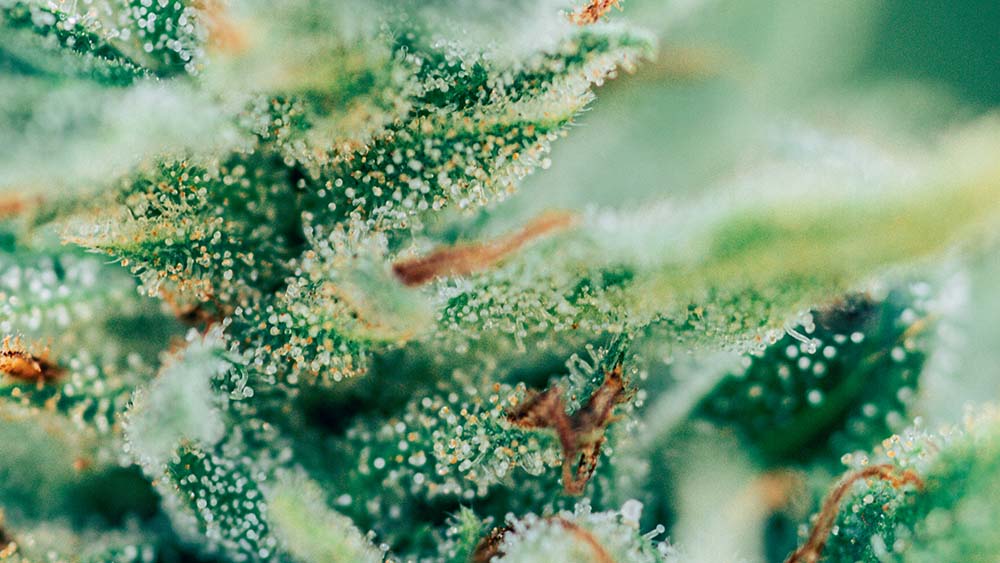
It’s far more accurate to examine the trichomes under a microscope (a handheld jeweler’s loupe will do). Trichomes are the tiny, mushroom-shaped resin glands that start life as crystal-clear growths. As the plant reaches maturity, they’ll turn opaque, and, just like the pistils, will eventually turn orangey-red or brown. When around 5 – 10% of the trichomes have turned orange/brown (around 98% of the remaining trichomes will be cloudy, with a small percentage remaining clear), it’s time to cut down the plants.
When examining the trichomes, be sure to check the interior of the plant. Trichomes near the exterior of the plant can be affected by contact from the grower. Simply brushing past with your sleeve can cause discoloration.
You’ll want to examine your plants regularly once they’re in full flower mode. It’s only by noting the date you flipped PLUS regular examination that you’ll be able to time your harvest date to perfection. Only plants harvested at the optimum time will reach their FULL potential in the jars.
Notes on getting high.
I’ve talked about the optimum time for harvesting cannabis, but what happens if you decide to take down the plants earlier or later? It’s an interesting question. I’ve always compared ripening cannabis to ripening fruit. If you pluck too early you’ll likely end up with a sour, super-tangy piece of fruit. Too late, and you’ll be biting into soft, mushy flesh. You can expect a similar situation with the high… harvesting when 5 – 10% of the trichomes are amber should deliver an upbeat, euphoric high with minimal couch-locking effects.
Now, if you allow a little more time for 10 – 15% of the trichomes to brown, you’re likely to produce weed with a more balanced mind/body high. You can push it even further, letting up to 40% of the trichomes brown. This process reflects the degradation of THC into CBN. Although CBN isn’t nearly as psychoactive as THC, it’s a powerful sedative. If you’re suffering from insomnia (and growing medicinal cannabis as a treatment), you might want to try a late harvest.
Harvesting a little earlier will produce more of a sativa-style high (clear-headed, energetic, cerebral), but you should make sure at least 5% of the trichomes are brown. Anything less will be detrimental to your flavors AND the high.
The big day: harvest time!
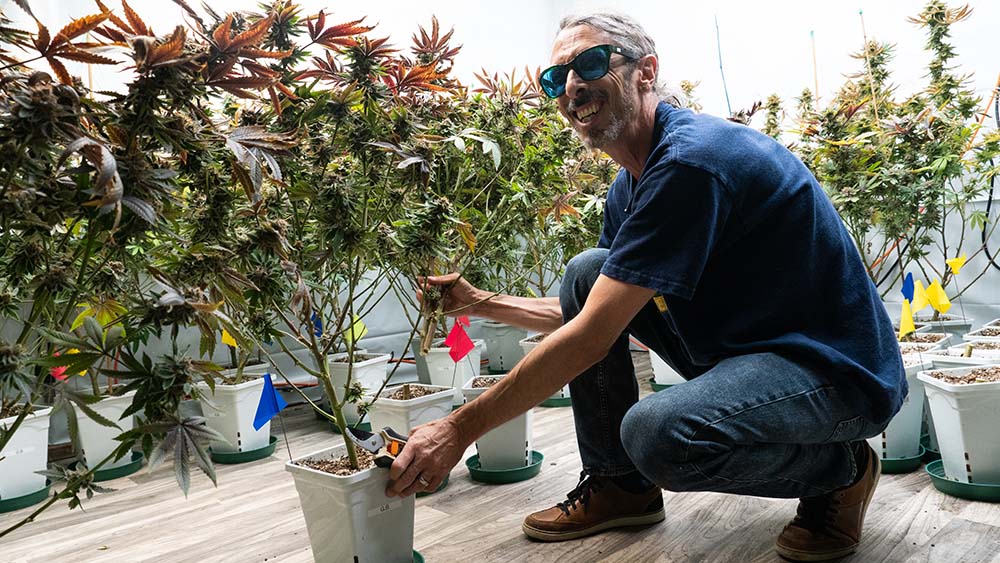
As promised, here’s how to cut down your plants and hang them to dry. Your lights should be off and the pots should be mostly dry. You’ll want to trim the larger fan leaves before progressing to the smaller, sugar leaves (you can keep them and make a nice hash). The plants are now ready to be taken down. I like to cut my plants down whole, cutting at the base of the stem where it meets the root ball. If your plants are huge, as in, over six feet, you can cut off a few larger branches until you’ve a manageable plant.
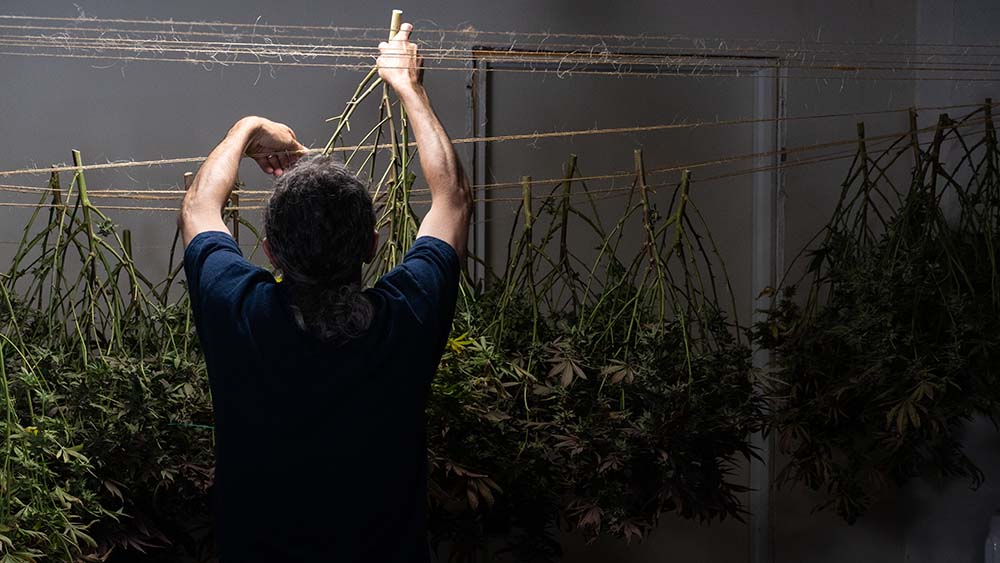
Take them directly to your drying room and hang them upside down on the drying lines. You can let them lightly touch each other as they’ll shrink pretty quickly. Leaving them whole slows down the drying process, which is great news for the finished bud. If they dry too quickly you’ll trap unwanted chemicals in the nugs – starches and nitrates that could ruin the smoke.
Let them hang for five to seven days, but start checking them after three (if your plants are super-small). Depending on the progress they make, you might need to leave them up to two weeks (MAX). If you’ve optimized temperature and humidity, you’re looking good. If your fans and dehumidifier are targeting the air as opposed to the plants, you’re looking great. The key is to dry the plants as evenly as possible, at a nice, chilled-out pace.
Note: if you opted not to give your plants 72 hours of darkness before harvest, you need to take the plants down around an hour before the lights are due to come on. This is peak time for terpene and cannabinoid production, and the plants will be storing the remaining nutes way down in the roots.
When can you trim them into jars?
If you manage to harvest at the optimum time AND dry your buds to perfection, they’ll taste great even without a super-long cure. But how do you know when they’re dried to perfection? The first thing you should do is give your buds a little squeeze. Now, it’s going to be difficult to explain exactly how they should feel, this will be something you’ll pick up with practice, but there should be some spring left in them. You want to feel there’s some moisture left. If they crumble into dust, you’ll know you left them WAY too long.
Next up comes the snap test. Take one of the stems and try to break it. If it bends without snapping, it could do with a little more drying. If it bends and breaks, with a satisfying crack, you can move on to the next test. Take a bud and pull it gently from the stem, it should pull a little strip of the stem off with it. If it does, jackpot. This means there’s still a little moisture in the stem. These last remnants of moisture make for a much better cure, and if you’ve got everything right so far, that cure need only last a week or two.
The last test to perform is the smoke test. Grind up a little bud and roll it up into a joint. If it stays lit, your buds are most likely ready for the next stage of their life.
Your next job is to buck and trim and get those buds jarred up. It’s curing time!

Notes on curing cannabis.
I like to get my harvest and drying just right, but I also like to cure a little longer than most growers, especially impatient beginners! I know you want your buds right now, but cured buds are WAY better than buds straight off the drying lines. Follow my advice, you’ll thank me for it! Here’s what you do…
Buck and trim your buds into mason jars, leaving a little room for air in each jar. Don’t stuff the buds and don’t half-fill. Put the jars in a cool, dark and dry place, somewhere easily accessible but out of the way. After a couple of days, you can open the jars to check your cure. If you can smell candy, well done! You can close up the jar and leave your buds as long as you like.
If you smell ammonia, this tells you that you jarred your flowers a little too soon. Best to empty the jars and dry it all out. It’s the end of the cure – this time. Don’t be disheartened, curing is an art form and you’ll improve each time.
Make sure you use common sense and observation during the curing process. My advice is just a guide. Every plant and every bud and every grow is different. Don’t be afraid to follow your gut!
Homegrown Diary
Homegrown Diaries is a completely free platform recently launched by the Homegrown Cannabis Co. You can create a grow journal and input a huge range of information. Everything from feeding times, wattage, light cycles to height and width. It will even let you know how much yield you achieved per watt of light!
I always advise beginners to take lots of notes, keep a record of everything you do and how your plants react. This is EASY with a Homegrown Diary. You’ll find 100s of fellow growers (diarists) more than willing to help, share and chat about your grow, and the mods are experienced cultivators always ready with advice.
I’m going to be using Homegrown Diaries for my next grow – it would be AWESOME to see you there, too.
Get daily cannabis industry news and insights. Subscribe
End