
Instagram marketing is an integral part of running a cannabis business; with limited access to ads on Facebook and Instagram, it is extra important that you have an airtight marketing strategy for promoting your cannabis blog or brand. In this quick photo tutorial we will show you how to not only draft Instagram posts using Facebook’s new Creator Studio, but also schedule them so that you always have fresh new content on your account.
Before you Begin:
- Make sure you have an both an Instagram account and a Facebook Page that you are an admin of on Facebook
- Convert your Instagram account to a Business Profile or Creator Account, this can be done within the settings menu in the Instagram app.
- Connect your Instagram account to the Facebook Page. The Facebook Page you link your Instagram account to can be published and public, or unpublished and invisible to the public.
Step One: Log into the Creator Studio
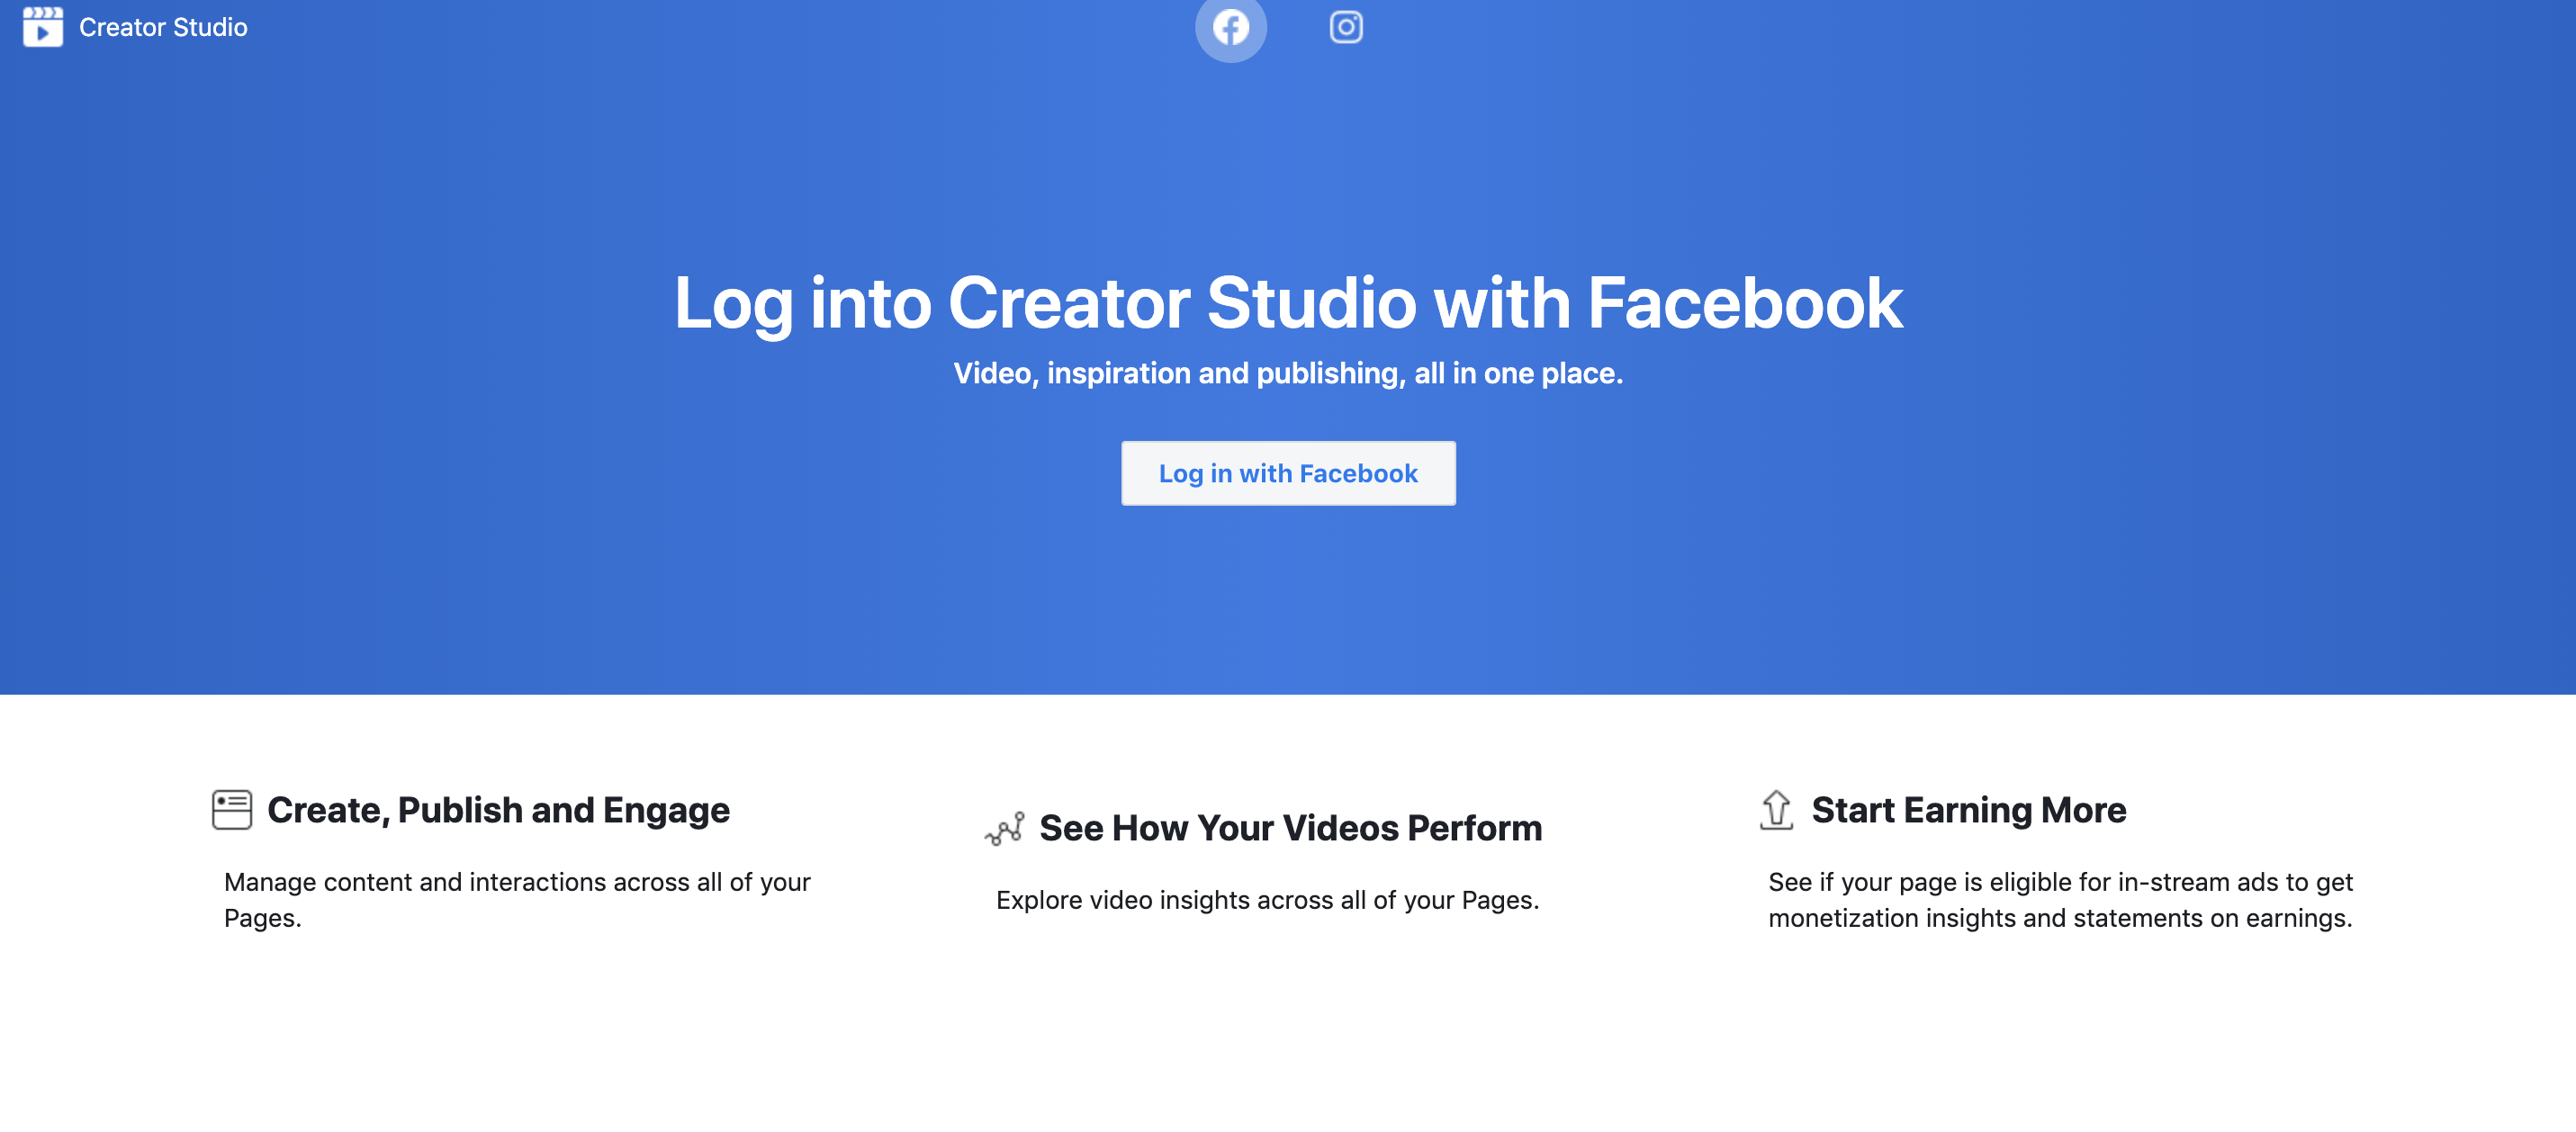
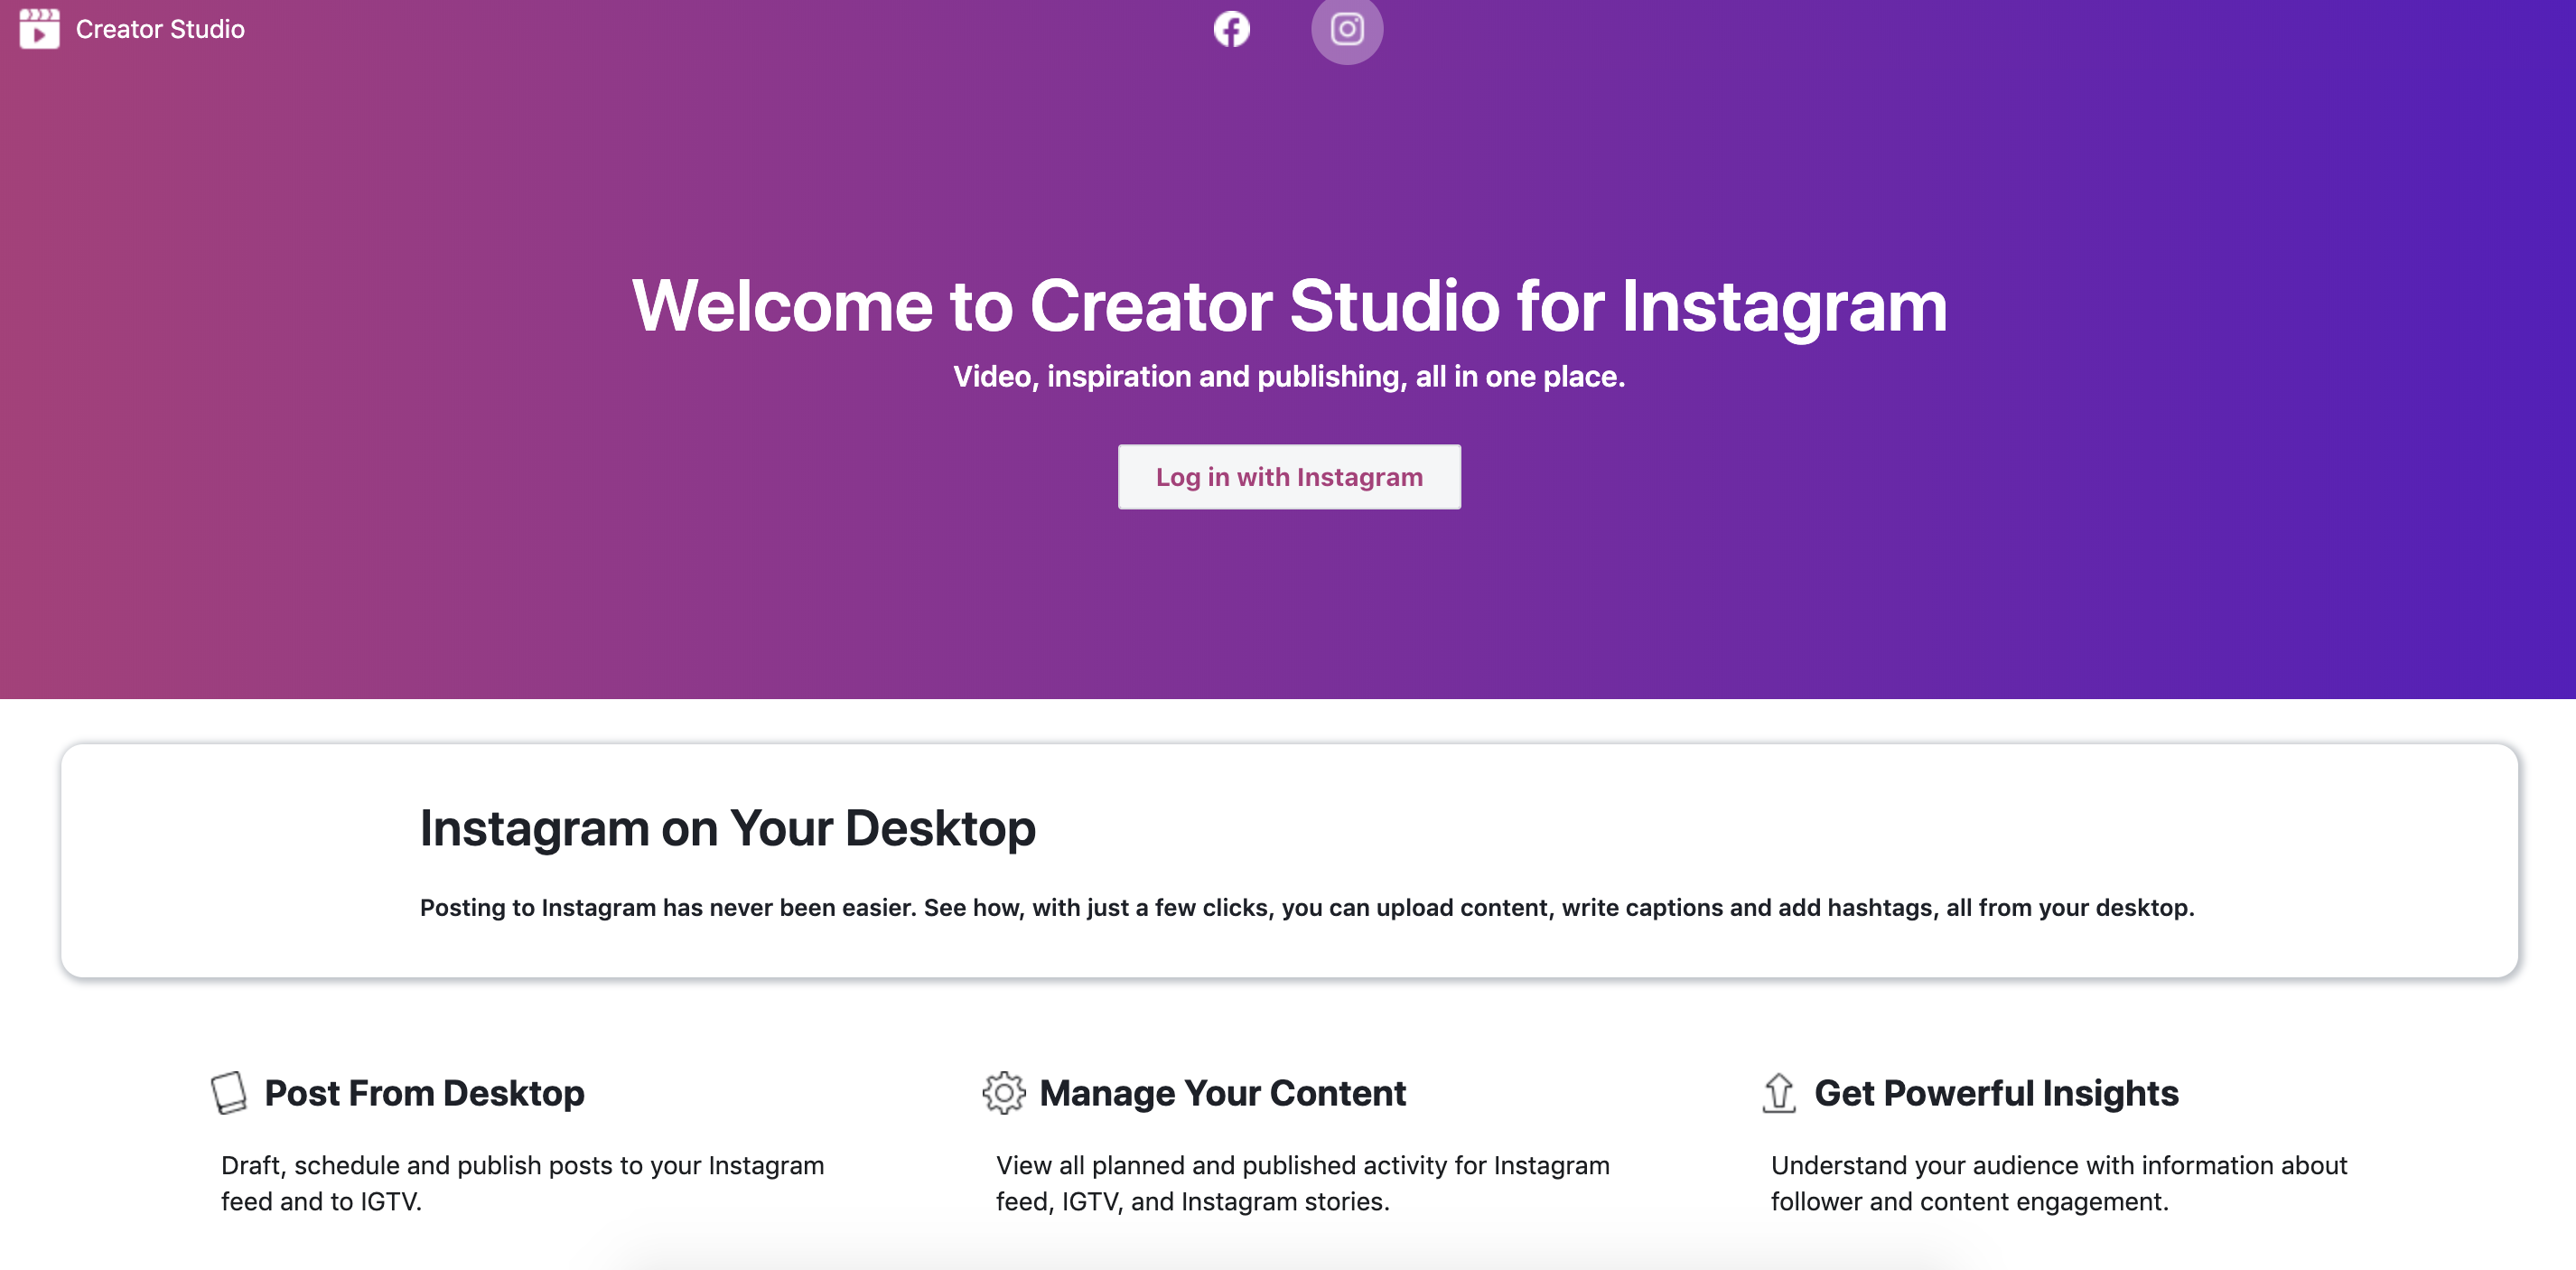
Click the Creator Studio link. At the top of the login page you will see icons for Facebook and Instagram, you can log in with either your Facebook account or your Instagram account. It does not matter which you use to log in, as once you are in to the Creator Studio you will be able to post to either account. In the images below, the top one with the blue background shows the Facebook login, and the lower one with the purple background shows the Instagram login.
Step Two: Create Your Post
Once you are logged in you will see a screen similar to the one below:
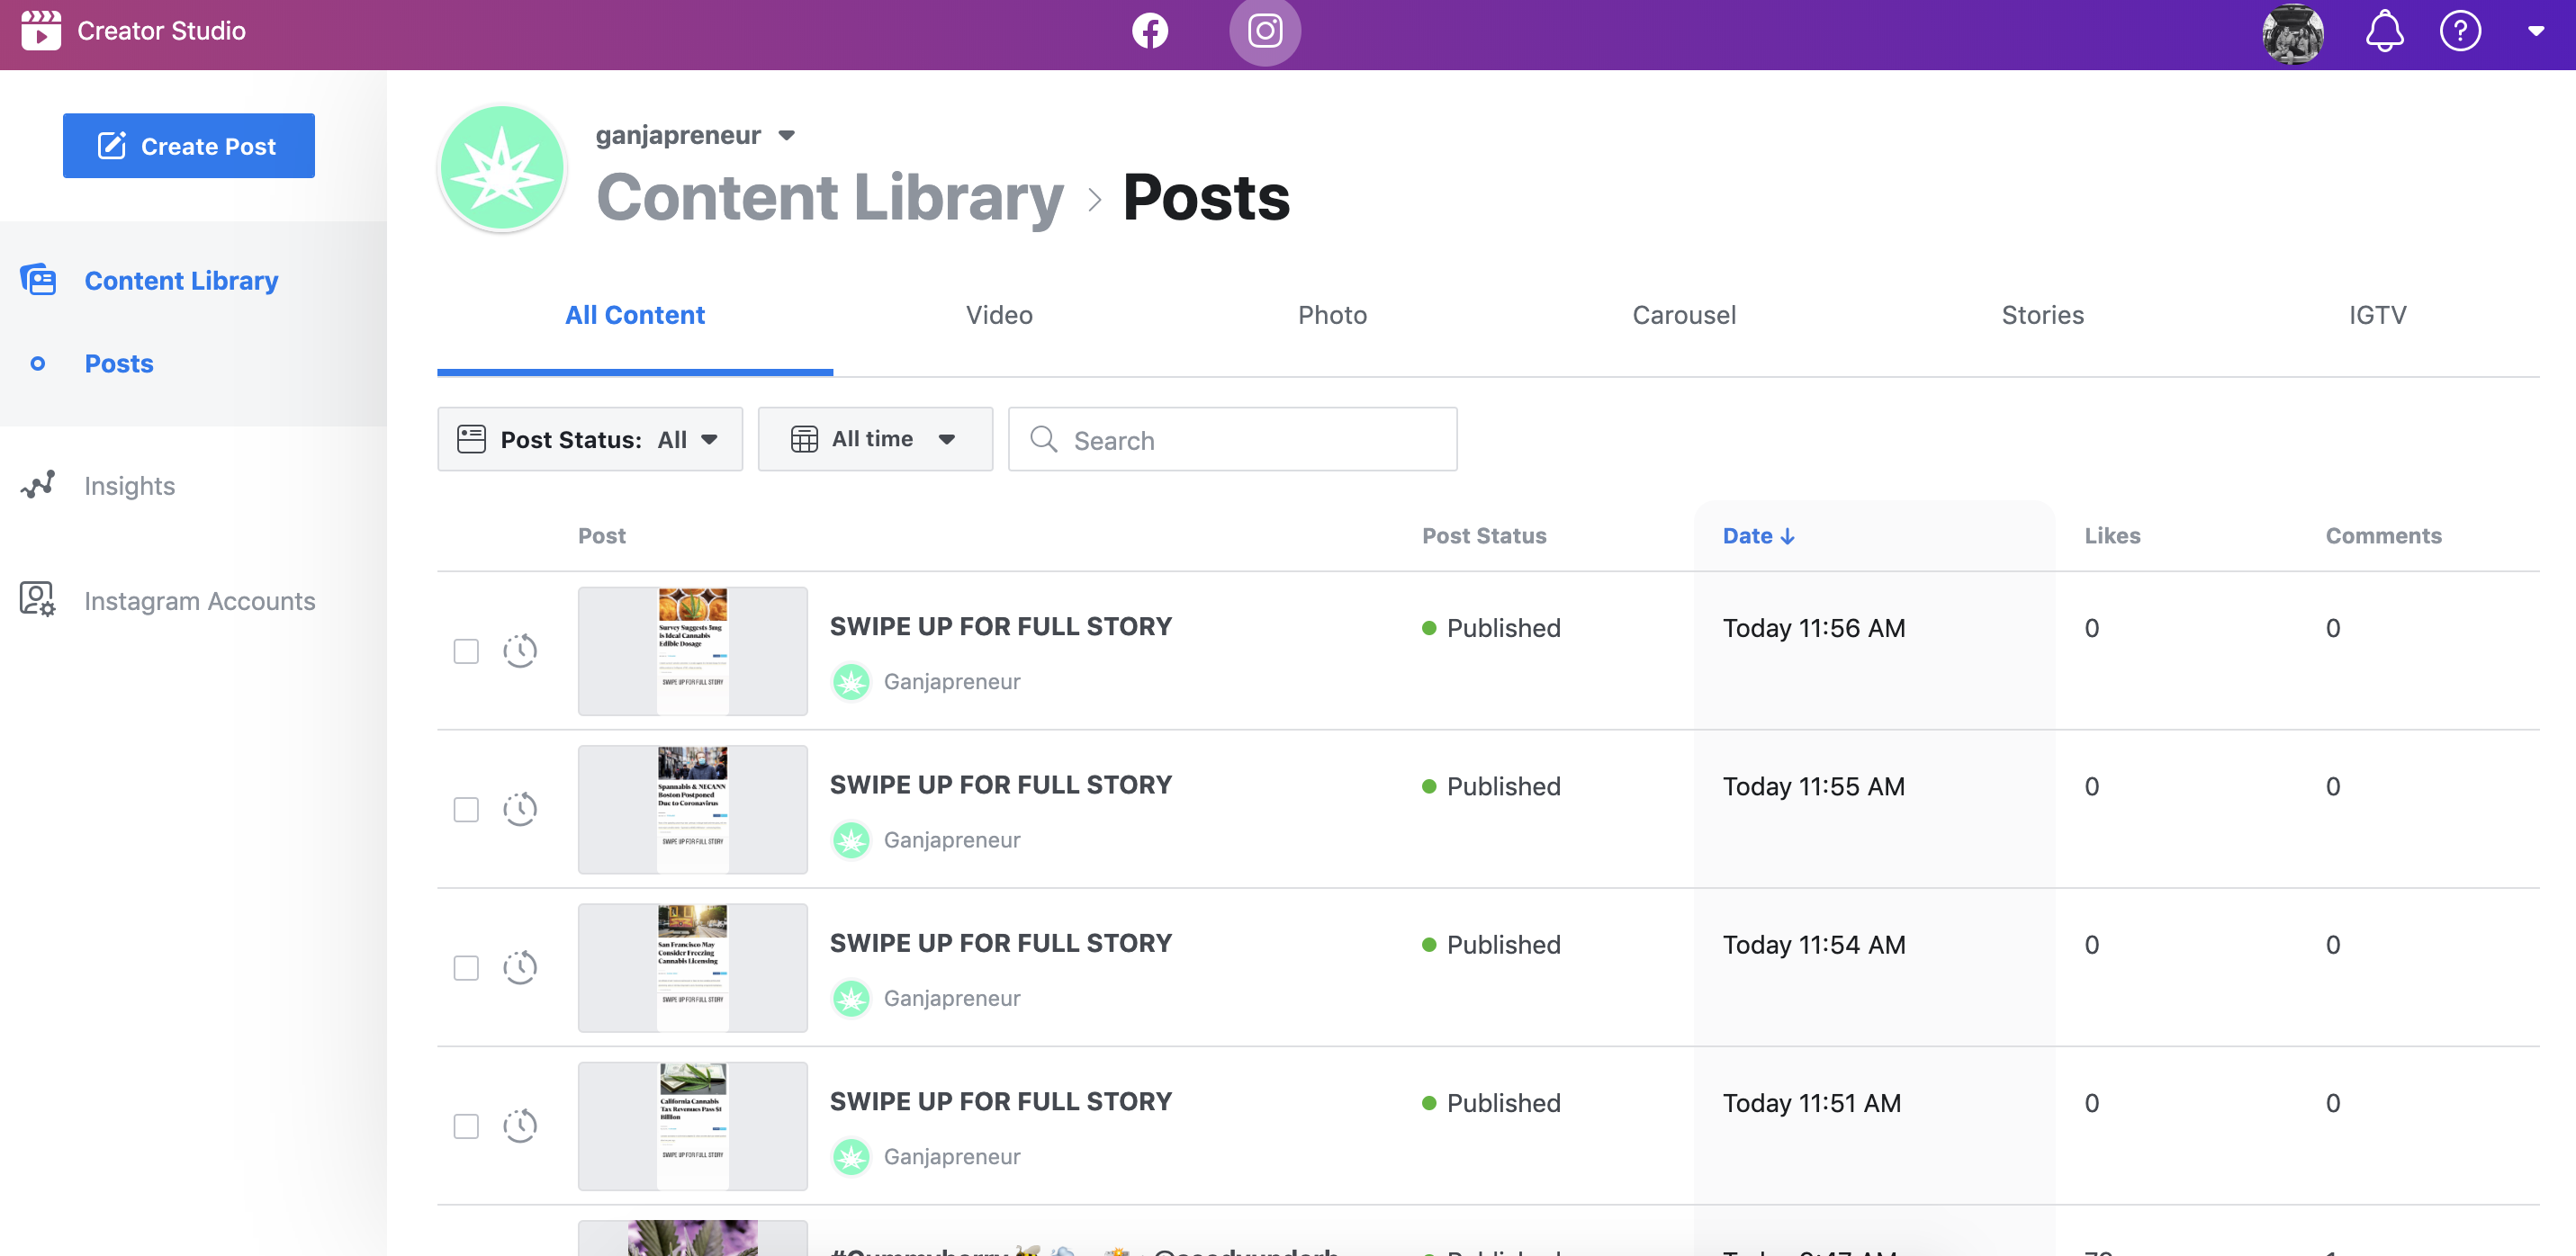
Again, at the top you will see icons for Facebook and Instagram which you can use to toggle between posting on Facebook and Instagram. In the screenshot above you can see that I have selected the Instagram icon and can now see all of the Instagram posts and stories that were posted, scheduled, or drafted.
For our purposes today we will ignore these options and focus on the “Create Post” button in the left side-menu as in the screenshot below:
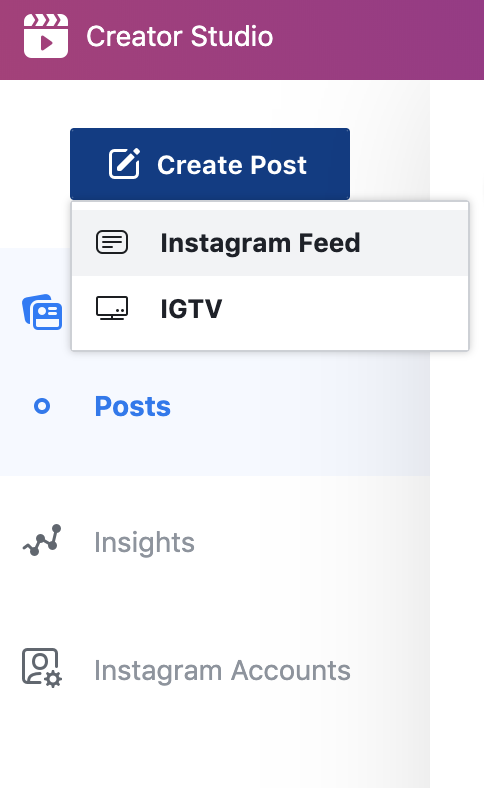
Once you click the “Create Post” button you will have the option to draft a post for your Instagram Feed or IGTV. Click the “Instagram Feed” tab. A post-drafting window will pop up (screenshot below). Write your caption (including hashtags) in the caption box, add your location, and upload your photos or videos.
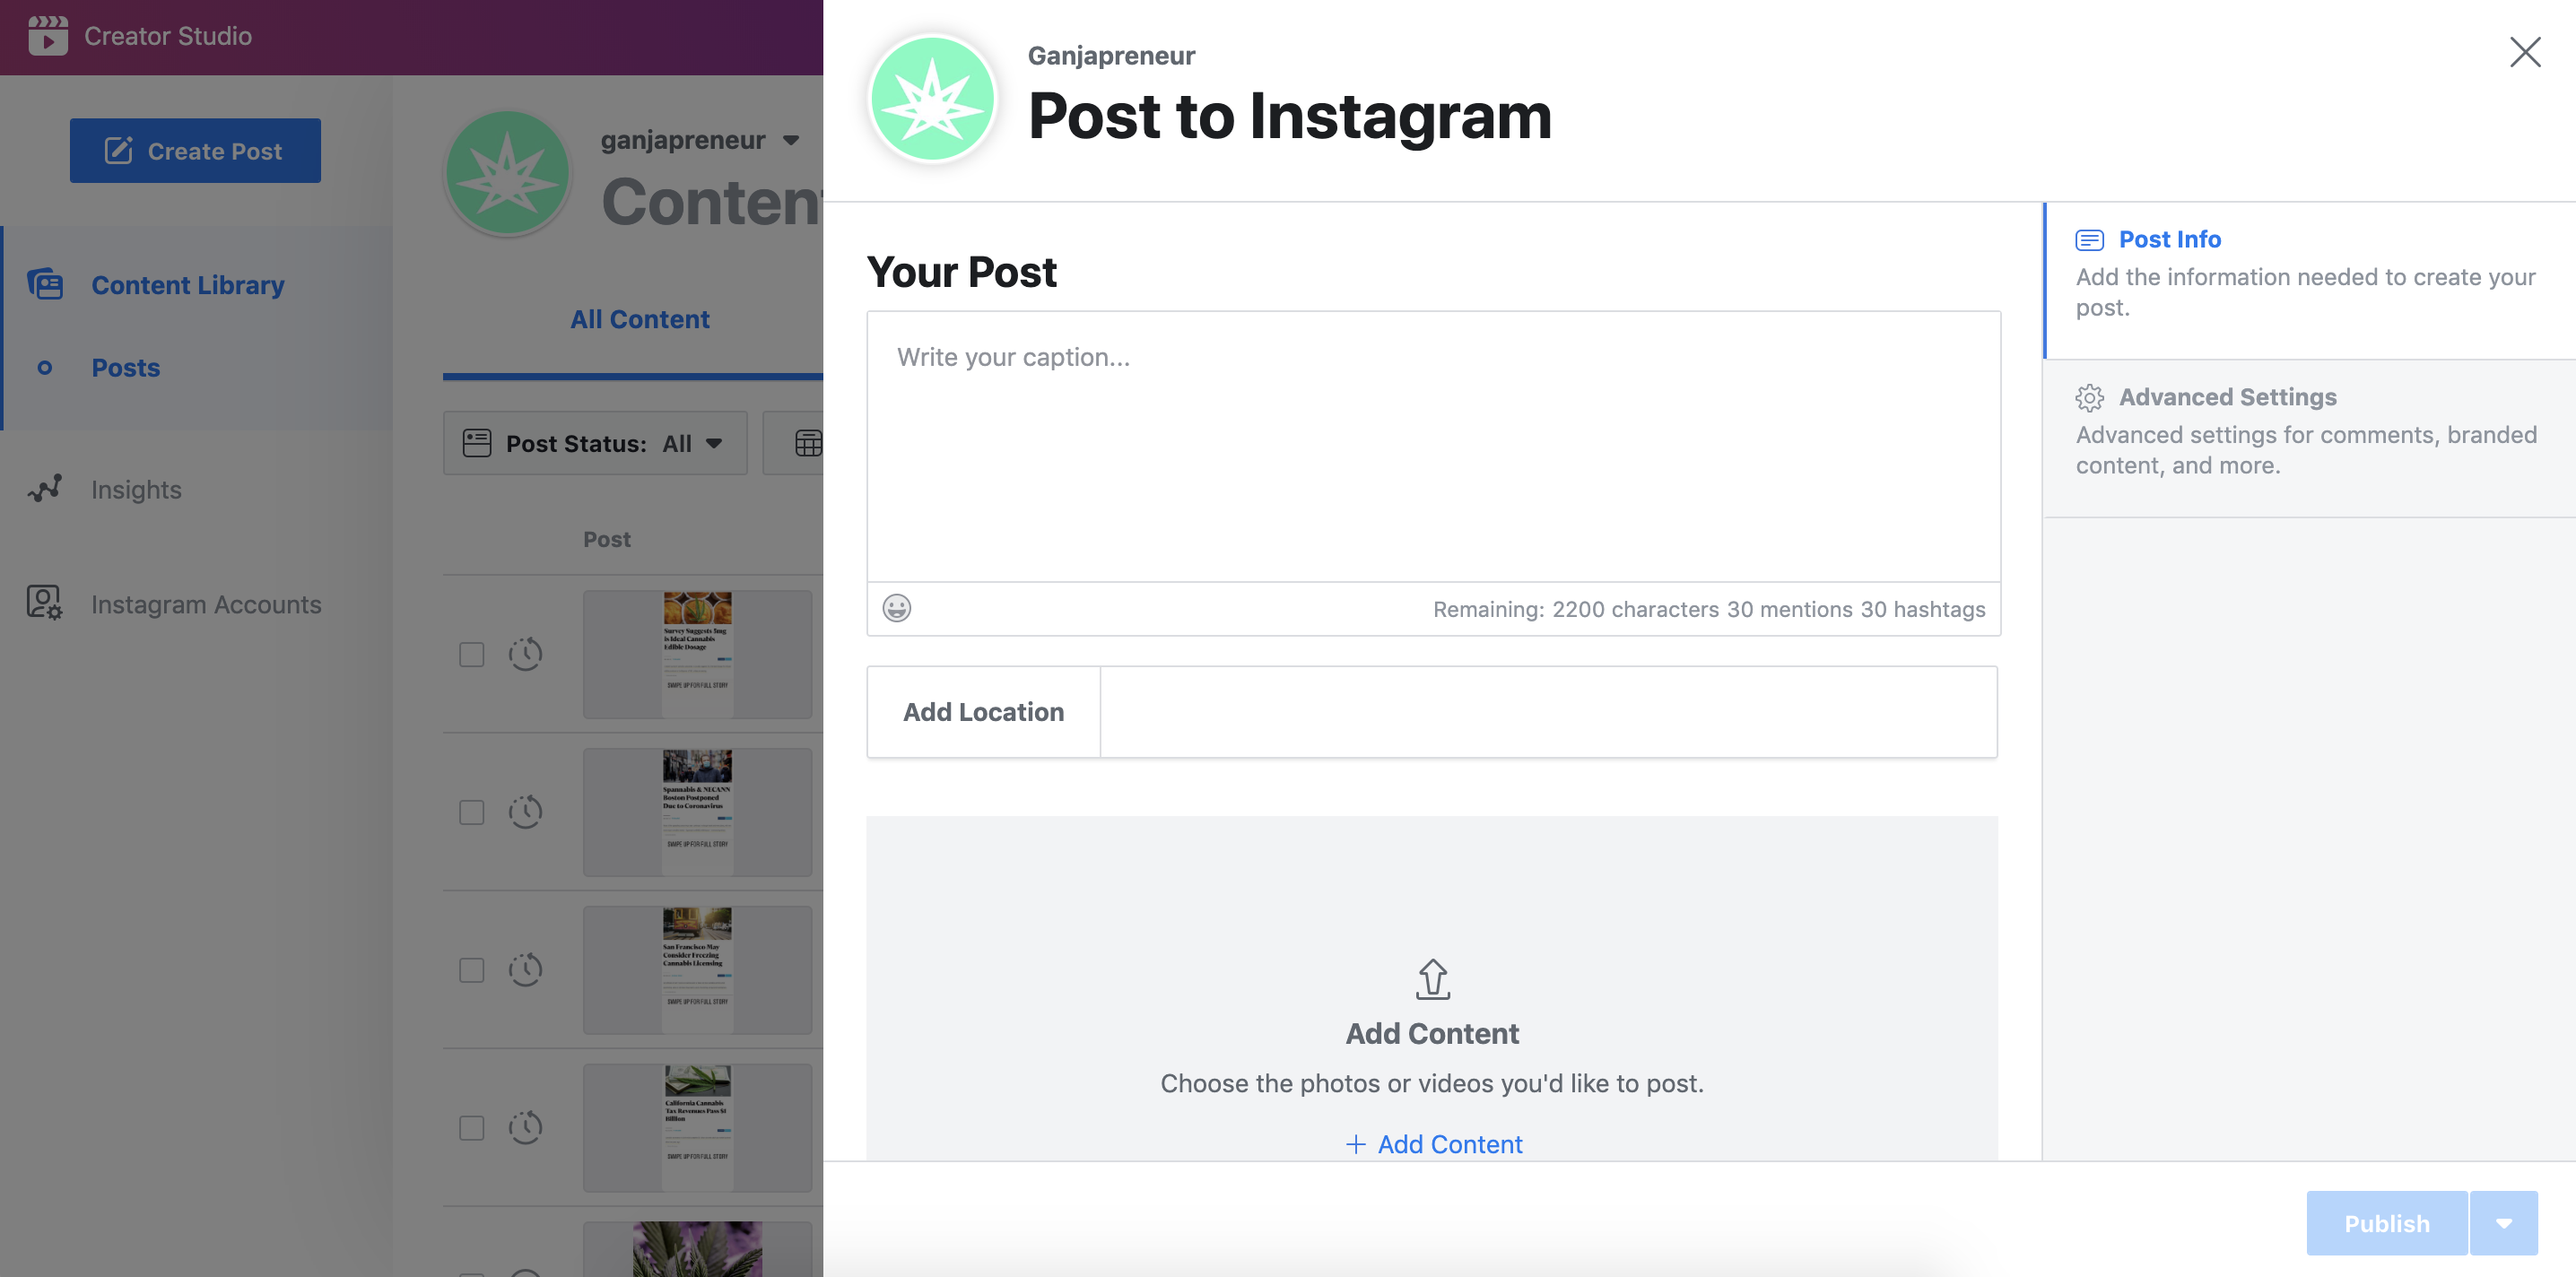
Once the photos have uploaded your photos you will be able to individually tag accounts, crop them, or delete them. These three options show up as three icons in the lower right corner of each photo.
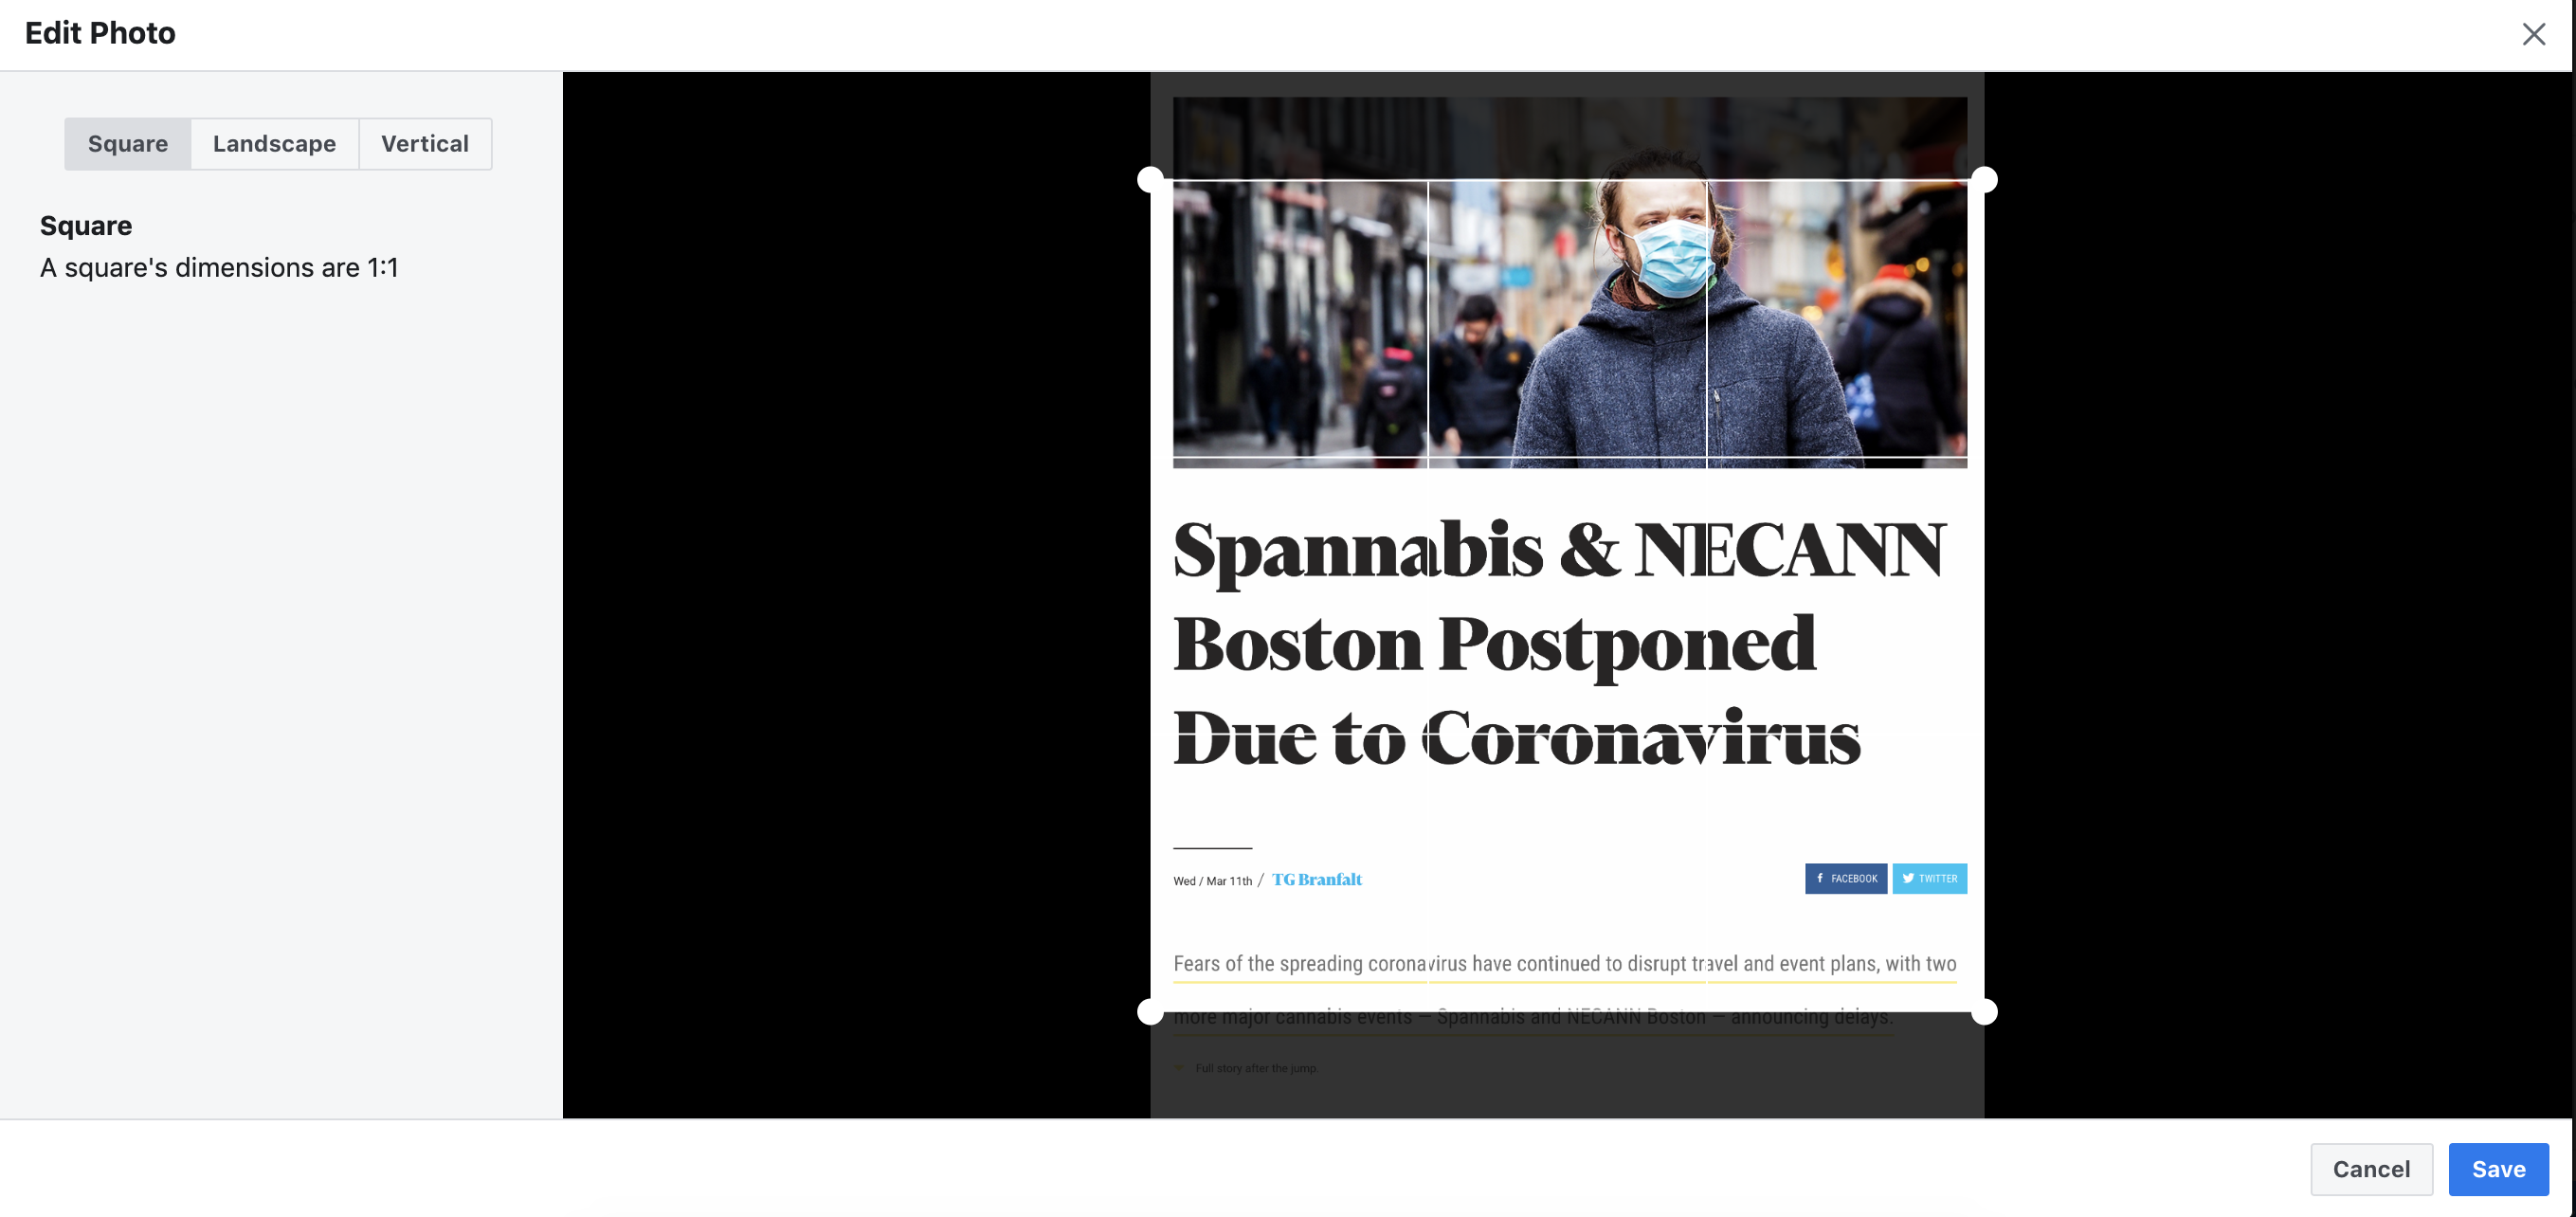
Step Three: Edit Your Post

If you choose to crop your photo a new window will pop up allowing you to crop it to a square, landscape, or vertical shape. Choose an option, move the box around to crop out what you don’t want in your photo and click the “Save” button in the lower right hand corner.
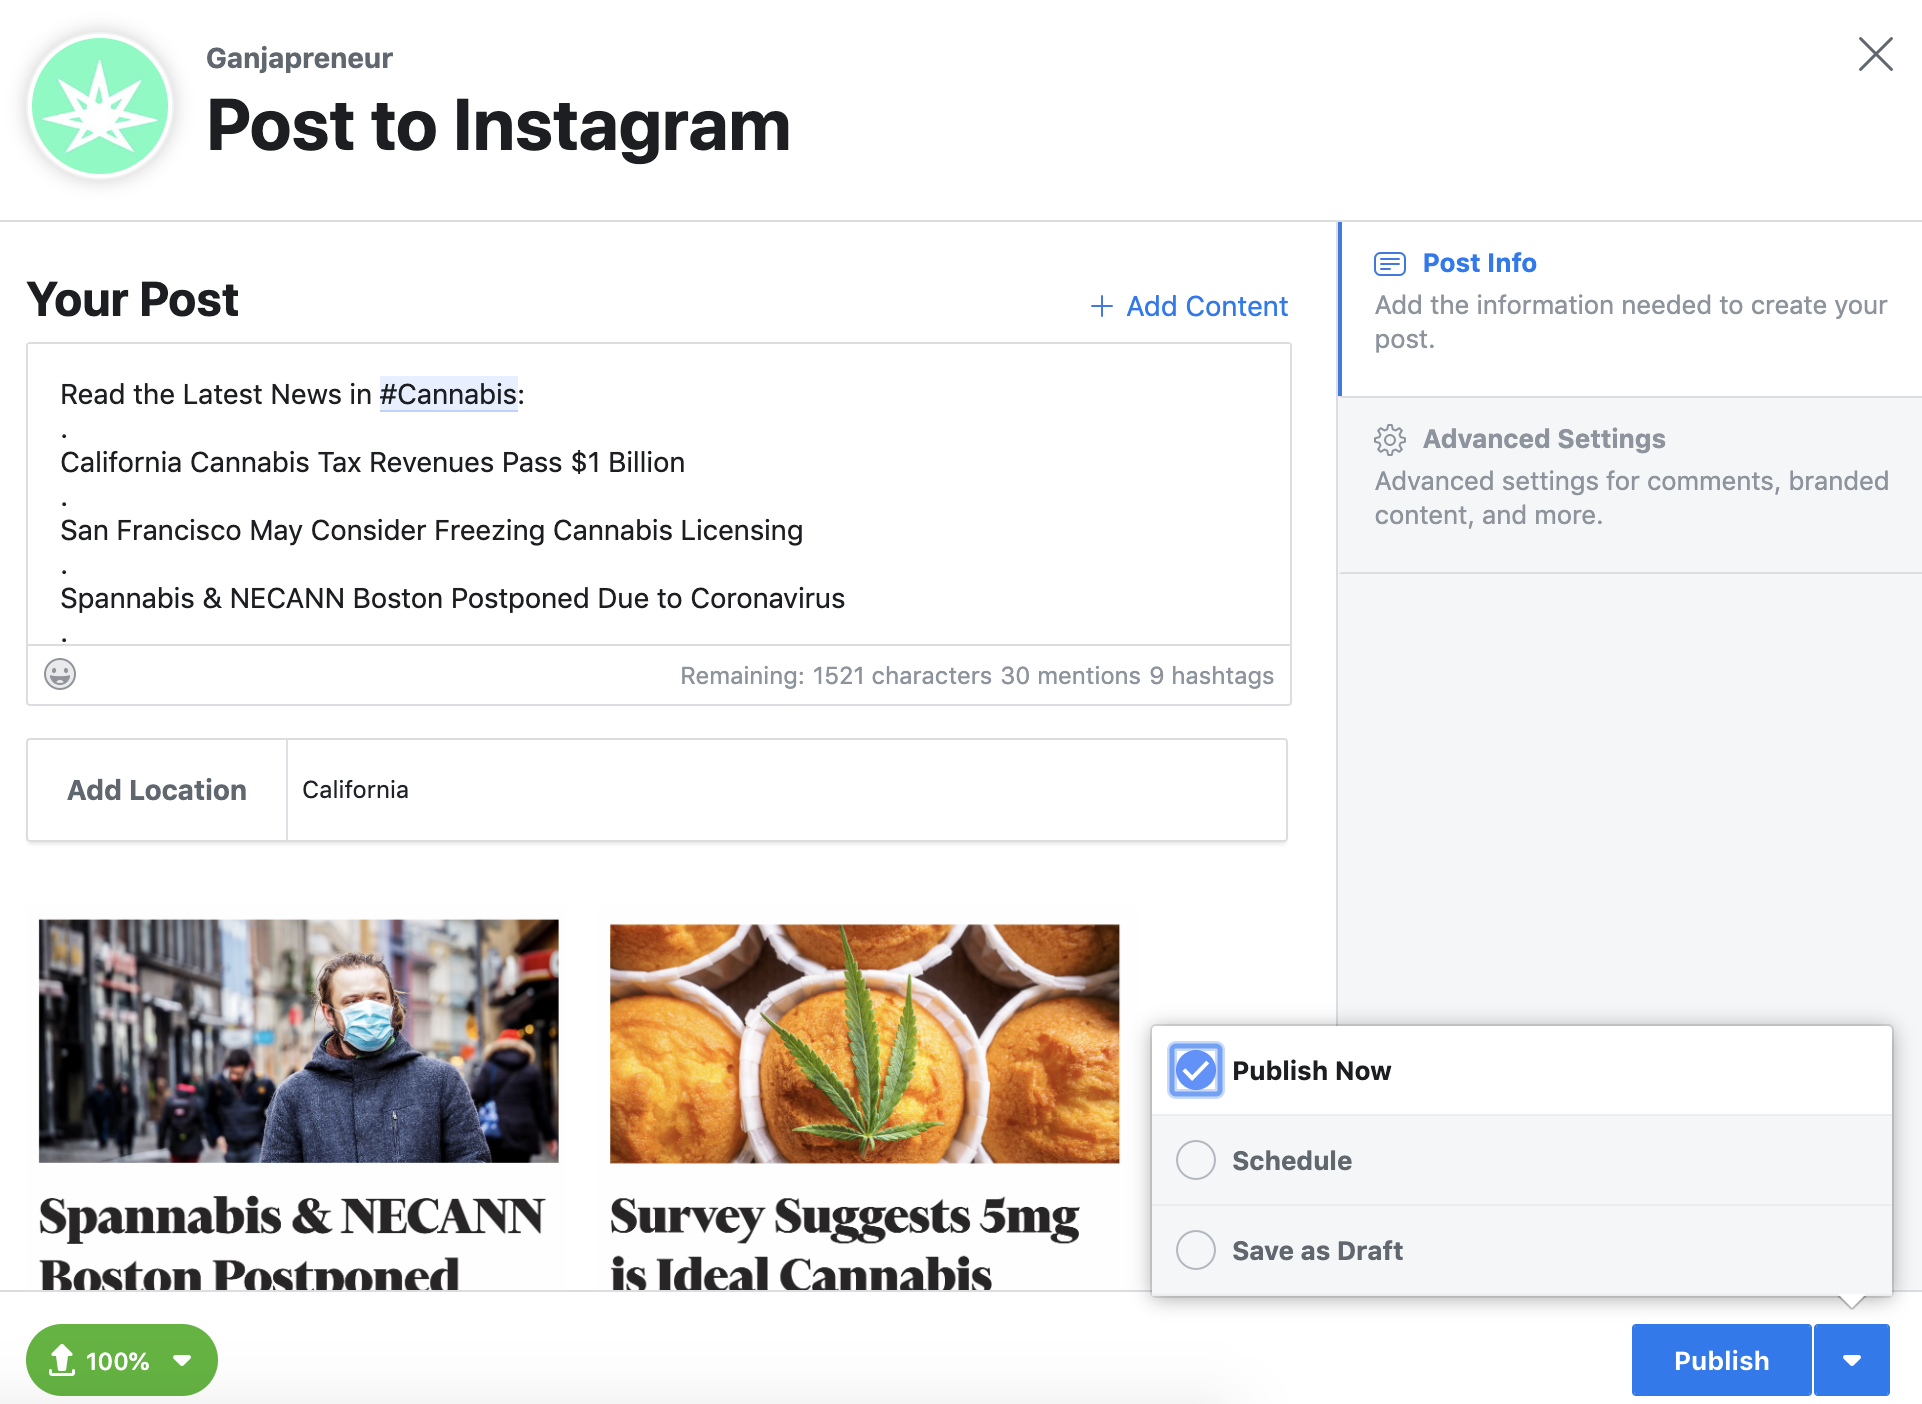
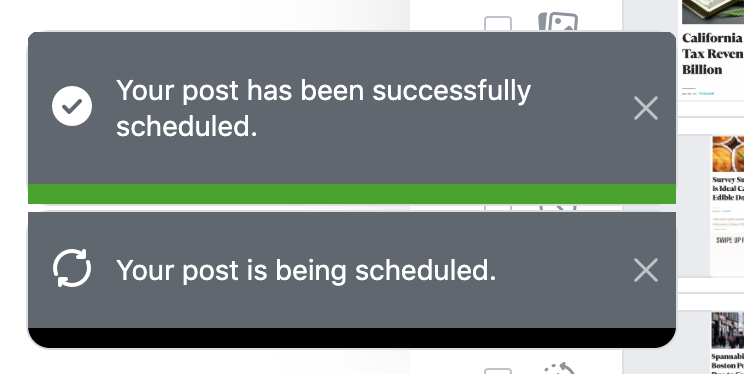
Finally, you are ready to publish your post. You have added a caption (with up to 30 hashtags), a geolocation, and your photos or videos (all cropped and with account tags added). If you wish to immediately publish your post, simply click the blue “Publish” button in the bottom right-hand corner. However, If you would like to either schedule your post or save it as a draft, then click the little blue arrow just to the right of the blue “Publish” button. Once you click this arrow you have the option to “Schedule” your post – if clicked, you will be given the opportunity to pick which date and exact time you would like your post to be published. If you click the “Save as Draft” option, then your post will save and you can find it back in the main menu where we started.
Step Four: Publish Your Post
You are finished! You now have the ability to schedule and draft Instagram posts in your browser. Research has proven that regular, especially daily, posting will increase your follower count and engagement. Never be caught flat-footed on holidays and important events in your company, schedule a post ahead of time and give your followers the best content you can.
This is the second installment of a three-part tutorial series covering Facebook’s Creator Studio App. Click here for the next installment!
End